
Introduction to Fly Tying
What is Fly Tying?
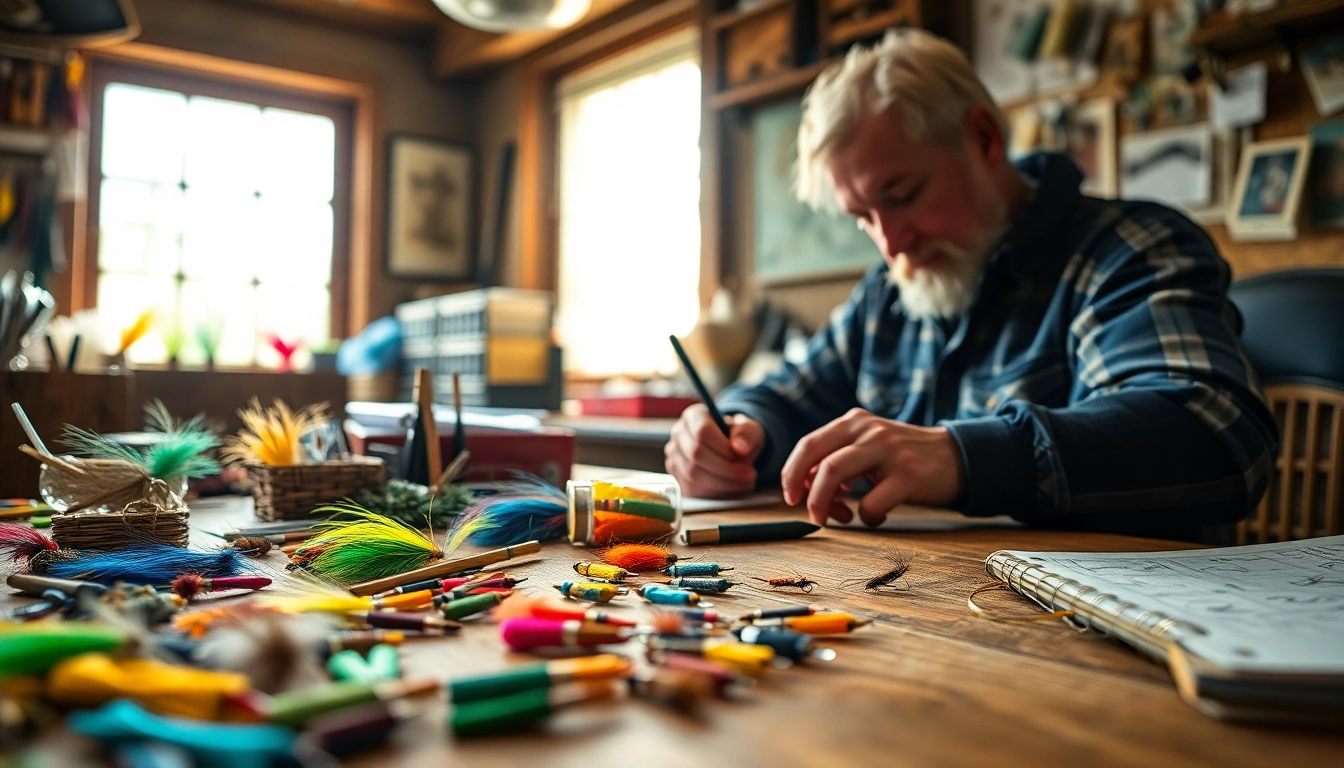
Fly tying is the craft of creating artificial flies to be used in fly fishing. These flies are designed to mimic the appearance and motion of aquatic organisms that fish feed on. By using a variety of materials, techniques, and patterns, anglers can produce flies that can effectively attract different species. This skill not only enhances one’s fishing experience but also fosters a deeper appreciation for the art of fishing.
The Importance of Fly Tying in Fishing
The significance of fly tying in the fishing community cannot be overstated. It allows anglers to create customized flies tailored to specific body of water or fish species. This customization increases the likelihood of successful catches, as different fish respond to different types of flies. Furthermore, engaging in fly tying fosters a connection between the angler and nature, as they become more attuned to the behaviors of aquatic life and ecosystem dynamics.
Dismissed Myths About Fly Tying
Several myths surround fly tying that can deter newcomers from exploring this rewarding craft. One such myth is that fly tying is only for expert anglers; however, beginners can easily learn the basics and enjoy the process. Another common misconception is that fly tying is immensely expensive, which is not necessarily true. With a small investment in essential tools and materials, anyone can start tying flies. Dispelling these myths is crucial to encouraging more anglers to embrace fly tying as both an art and a practical skill.
Essential Tools and Materials for Fly Tying
Must-Have Fly Tying Tools
Every fly tier needs a set of essential tools to start tying effectively. These include:
- Vise: Holds the hook securely while you work.
- Bobbin: Dispenses thread evenly and maintains tension.
- Scissors: Used for cutting thread and materials accurately.
- Bodkin: A fine needle for applying glue or separating materials.
- Hackle pliers: Helps wrap feathers around the hook.
Having quality tools will streamline the tying process and improve the quality of the flies you create.
Choosing the Right Materials for Your Flies
When it comes to materials, the choices are vast and can be tailored to the type of fly being tied. Key materials include:
- Threads: Available in various strengths and colors.
- Fur and Feathers: Essential for realistic flies.
- Beads: Added weight can help the fly sink faster.
- Foam and Chenille: Great for creating buoyant flies or body materials.
Understanding the properties and applications of various materials allows you to innovate and create effective fly patterns.
Organizing Your Fly Tying Workspace
Having a well-organized workspace can enhance creativity and efficiency. Start by designating a specific area for tying, free from distractions. Utilize storage solutions such as tackle boxes or drawers to keep materials neatly categorized. Keep your tools within arm’s reach and arrange your threads, feathers, and hooks for easy access. An organized space not only makes tying easier but can inspire greater creativity with your designs.
Basic Techniques in Fly Tying
Starting with Simple Patterns
For those who are new to fly tying, it’s best to start with simple patterns. Classic flies like the Woolly Bugger or Elk Hair Caddis provide foundational skills in tying techniques. Focus on mastering the basic steps: securing the hook, applying materials systematically, and finishing the fly with head cement. As these patterns become second nature, you can advance to more complex designs.
Mastering Thread Work and Knot Techniques
Thread work is paramount in fly tying. Proper tension and technique can make a significant difference in the strength and durability of your fly. Learn essential knots, such as the whip finish, which secures your thread. Practice makes perfect, so spend time honing these skills until they feel natural.
Common Mistakes to Avoid in Fly Tying
In the learning phase, it’s common to make mistakes. Some frequent pitfalls include:
- Poor Thread Tension: Too loose or too tight can ruin the fly.
- Overcrowding the Hook: Adding too many materials can lead to a bulky fly lacking in effectiveness.
- Skipping Steps: Rushing through can compromise the quality; patience is key.
Being aware of these common errors will help you to improve continuously and produce finer flies.
Intermediate Fly Tying Techniques
Utilizing Advanced Materials
As you progress, introduce advanced materials such as UV resin and advanced synthetics. These materials can enhance the visual appeal and performance of the flies. Experiment with different color combinations and textures to create unique patterns that will stand out on the water.
Creating Realistic Fly Patterns
Realism can make a significant difference in your fly’s effectiveness. Techniques like dubbing and adding legs or antennae can make flies more life-like. Study real insects and aquatic creatures, noting their unique attributes. The more accurate your fly imitates nature, the more likely fish will find it appealing.
Tips for Experimenting with Designs
Creativity is vital in fly tying. Don’t hesitate to mix and match materials and techniques. Keep a notebook to document successful patterns and any adjustments you make along the way. This log will become a valuable reference for future tying sessions, helping you track what works and inspiring new designs.
Maintaining Your Fly Tying Skills
Joining Fly Tying Communities
Being part of a fly tying community is invaluable for growth. Engage with local fly shops, online forums, or social media groups where you can share your work, seek feedback, and learn from other fly tiers. Collaborative environments foster creativity and can introduce you to new techniques and patterns.
Resources for Continued Learning
Countless resources are available for those eager to expand their fly tying skills. Books, online tutorials, and workshops provide a wealth of information. Subscription services that offer monthly boxes with materials and patterns can inspire continual growth and experimentation. Your commitment to learning will ensure that your skills continue to evolve.
The Benefits of Practice and Patience in Fly Tying
Like any craft, fly tying requires practice and patience. The more time you dedicate to mastering your techniques, the more proficient you will become. Don’t be discouraged by initial setbacks; view them as opportunities to learn and refine your skills. With time, you will see a noticeable improvement in your outcomes.
Frequently Asked Questions
1. How long does it take to learn fly tying?
The time to learn fly tying varies. Beginners can tie simple flies in a few hours, while mastering complex patterns takes continued practice over months or years.
2. What are the best flies for beginners?
Simple patterns like Woolly Bugger, Elk Hair Caddis, and Adams are recommended for beginners due to their versatility and ease of tying.
3. Is fly tying expensive?
While there can be initial costs for tools and materials, fly tying can be economical. Beginners can start with basic materials without a large investment.
4. Do I need to be an experienced angler to start tying flies?
No, anyone can start tying flies regardless of their fishing experience. It can enhance your understanding of fishing and improve your catch success.
5. Where can I find fly tying patterns and tutorials?
Numerous resources are available online, including video tutorials, instructional websites, and books dedicated to fly tying techniques and patterns.